【swift】iOSシェア機能でファイルを受信する実装
概要
Gmail等に添付されているファイルをシェア機能と使って受取る実装です。
事前準備
- Gmail等シェアできるアプリが必要です。
Info.plistの設定
- TARGETのInfoから設定するとわかりやすいでしょう
直接設定しても反映されます。

- nameに適当な名前、Typesにファイルタイプを入れます。
ファイルタイプは受取りたいファイルの種別です。System-Declared Uniform Type Identifiersを参照してくださいIdentifier列の値を入れます。
developer.apple.com
- 例:テキストファイルはpublic.text、画像ファイル(png)はpublic.png等、複数設定することも可能です。
- またpublic.dataを設定することで全てのTypeを受けることが出来ます。

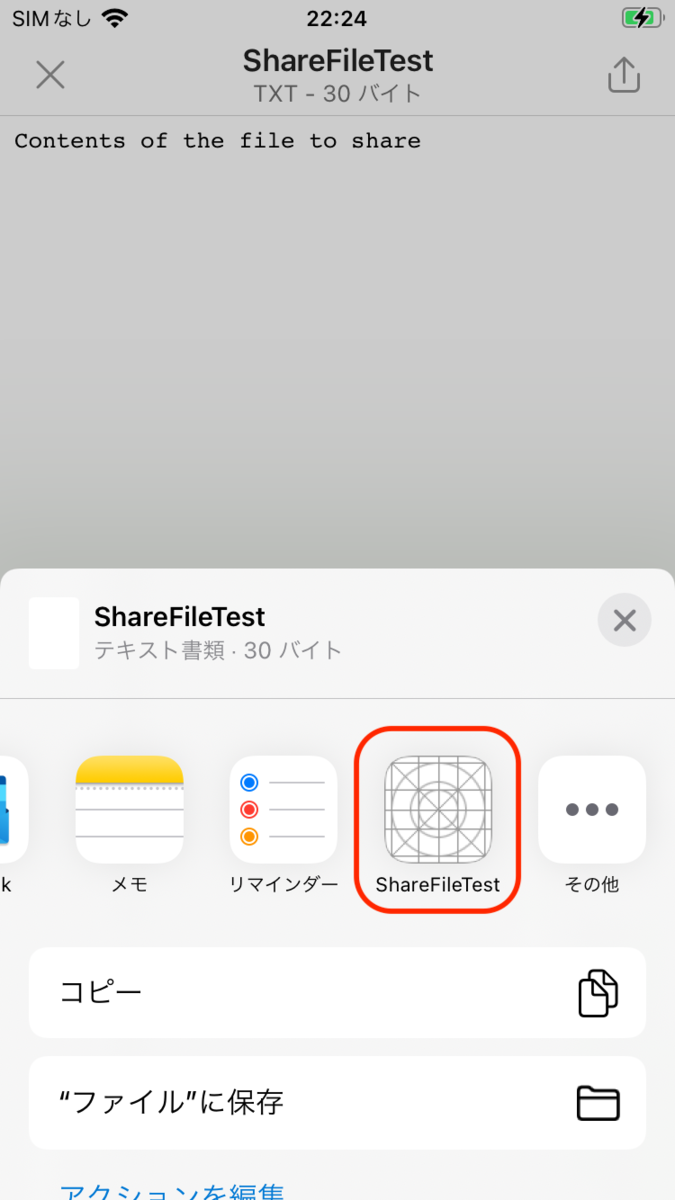
- 他のアプリからのシェア機能で現れました。
受信したファイルのURLの取得
- iOS13からはSceneDelegateで受け取ります。
- アプリが起動している時
func scene(_ scene: UIScene, openURLContexts URLContexts: Set<UIOpenURLContext>) {
    // アプリが起動している場合はこのメソッドで受ける
    // URLContextsにはいているURLが受信したファイルのURL
    let content = urlContexts.first
    let url = content?.url
}
- アプリが起動していない
var urlContexts: Set<UIOpenURLContext>?
func scene(_ scene: UIScene, willConnectTo session: UISceneSession, options connectionOptions: UIScene.ConnectionOptions) {
    // アプリが起動していない時は起動時にここでシェアするファイルのURL取得する。
    urlContexts = connectionOptions.urlContexts
    guard (scene as? UIWindowScene) != nil else {
        return
    }
}
【swift】iOSでPush通知に画像表示する実装
TARGETにNotification Service Extensionを追加


NotificationServiceの実装
- TargetにNotification Service Extensionを追加するとデフォルトでNotificationService.swiftが出来上がります。
- NotificationService.swiftのdidReceiveに画像ダウンロードと設定を行うことで、受取ったPush通知に画像が表示されます。
- 取り出す要素名はJSONと同じにしなければならないので後述を参照してください
// プッシュ通知が届いたらこのメソッドにコールバックされます。
override func didReceive(_ request: UNNotificationRequest, withContentHandler contentHandler: @escaping (UNNotificationContent) -> Void) {
    self.contentHandler = contentHandler
    bestAttemptContent = (request.content.mutableCopy() as? UNMutableNotificationContent)
    // プッシュ通知のペイロードからUserInfo部分を取り出す
    if let attachment = request.content.userInfo["rpr_attachment"] as? [String: String] {
        // ペイロードに要素があれば取得
        if let urlString = attachment["url"], let fileURL = URL(string: urlString), let type = attachment["type"] {
            // urlはファイルパス。typeは拡張子
            // ペイロードのrpr_attachmentのurlからファイルをダウンロードする
            URLSession.shared.downloadTask(with: fileURL) { (location, response, error) in
                if let location = location {
                    let fileName = UUID().uuidString + "." + type
                    let tmpFile = "file://".appending(NSTemporaryDirectory()).appending(fileName)
                    let tmpUrl = URL(string: tmpFile)!
                    try? FileManager.default.moveItem(at: location, to: tmpUrl)
                    if let attachment = try? UNNotificationAttachment(identifier: "IDENTIFIER", url: tmpUrl, options: nil) {
                        self.bestAttemptContent?.attachments = [attachment]
                    }
                }
                contentHandler(self.bestAttemptContent!)
            }.resume()
        }
    } else {
        contentHandler(self.bestAttemptContent!)
    }
}
Push通知を試す。
- テストツール(こちらを使ってみました。)
- 各種設定値とカスタムJSONを設定してPushボタンで送信です。
最初は時間がかかるので少し待ってください

- 受取った通知に画像が出ました。

- 通知を下にドラッグすると画像を大きくすることが出来ます。

【swift】iOSでPush通知を受取る実装


AppDelegateの実装
- func application(_ application: UIApplication, didFinishLaunchingWithOptions launchOptions: [UIApplication.LaunchOptionsKey: Any]?) にプッシュ通知の利用許可を記載します。
func application(_ application: UIApplication, didFinishLaunchingWithOptions launchOptions: [UIApplication.LaunchOptionsKey: Any]?) -> Bool {
    // プッシュ通知の利用許可
    UNUserNotificationCenter.current().requestAuthorization(options: [.alert, .sound, .badge]) { granted, error in
        guard granted else { return }
        DispatchQueue.main.async {
            // プッシュ通知の登録
            UIApplication.shared.registerForRemoteNotifications()
        }
    }
    return true
}
- プッシュ通知の登録が成功した場合のCallBack関数を記述
// プッシュ通知の登録が成功した場合CallBackされる
func application(_ application: UIApplication, didRegisterForRemoteNotificationsWithDeviceToken deviceToken: Data) {
    let token = deviceToken.map {
        String(format: "%.2hhx", $0)
    }.joined()
    NSLog("DeviceToken: \(token)")
}
- プッシュ通知の登録が失敗した場合のCallBack関数を記述
// プッシュ通知の登録が失敗した場合CallBackされる
func application(_ application: UIApplication,  didFailToRegisterForRemoteNotificationsWithError error: Error) {
    NSLog("エラー: \(error)")
}


Push通知をテスト送信
- テストツール(こちらを使ってみました。)
- 各種値を入れてPushボタンで送信されます。
最初は時間がかかるので少し待ってください

- 受信できました

ChromeBook 他対応 usb-c hub")
